


Prijs: € 7,87
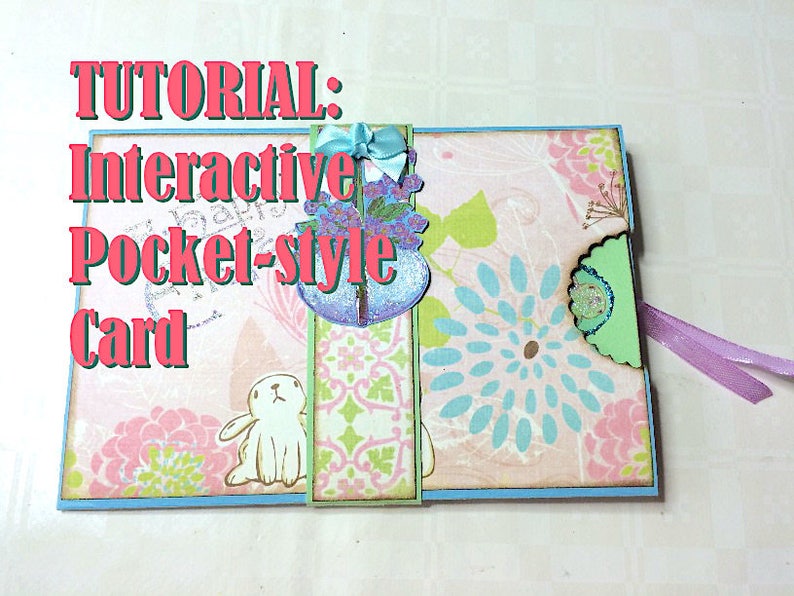
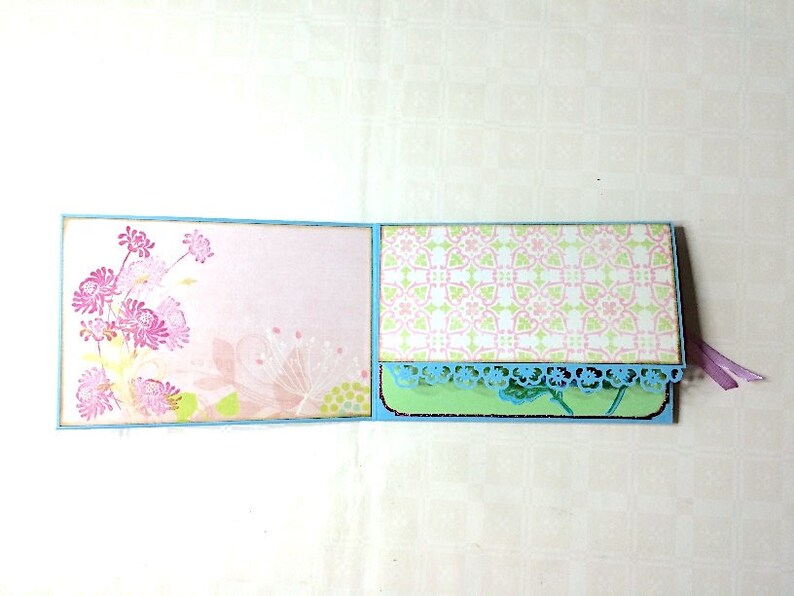
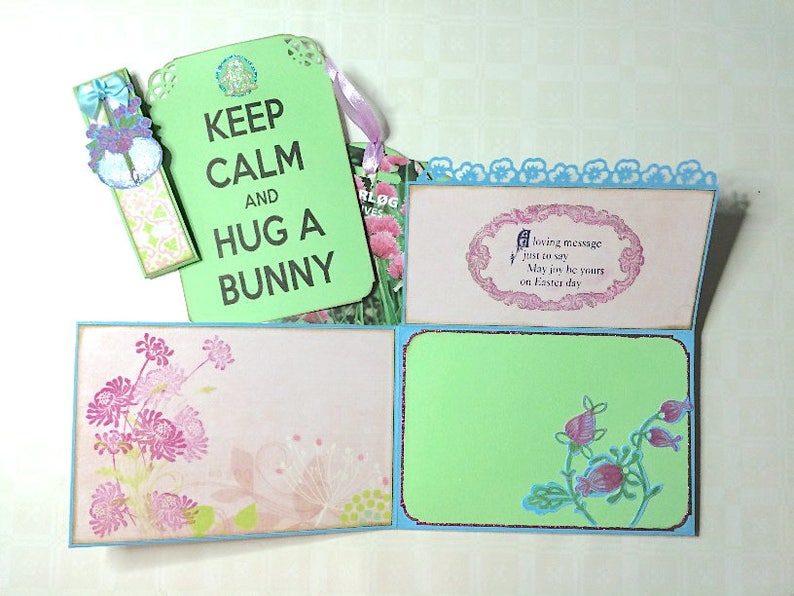
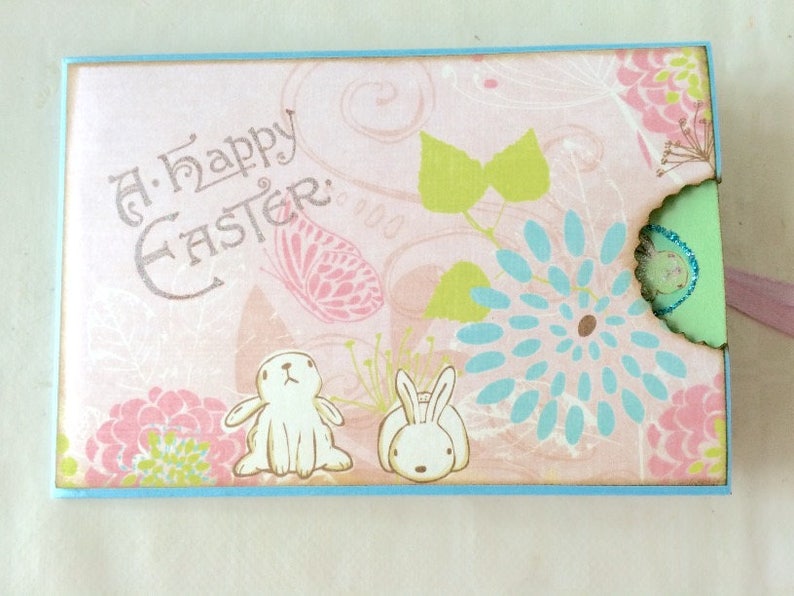
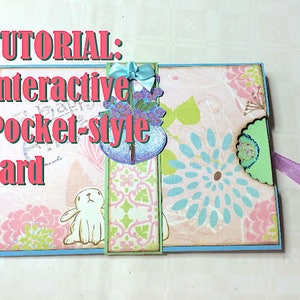
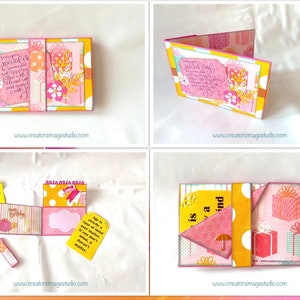
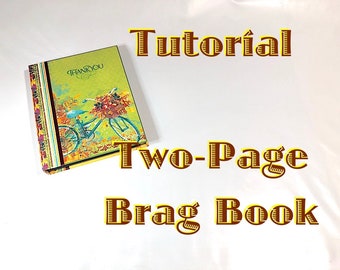
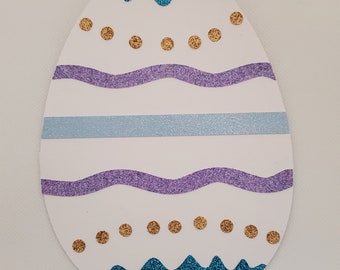
Tutorial #6: Interactive Pocketstyle Card 'Spring Sentiments'
Je kunt alleen een bod doen als je een enkel item koopt
Directe download
Bestanden zullen beschikbaar komen om te downloaden wanneer de betaling is bevestigd. Hier vertellen we je hoe dat moet.
Directe downloads kunnen niet geretourneerd, geruild of geannuleerd worden. Neem contact met de verkoper op als er problemen met jouw bestelling zijn.
Etsy Aankoopbescherming: shop met een gerust hart op Etsy – mocht er iets verkeerd gaan met je bestelling, dan helpen we je. Lees hier de voorwaarden.

132 shoprecensies
5 van 5 sterrenMarianthi 18 mrt 2022
Super leuk bouwpakket om samen te stellen, alles wat je nodig hebt op papier zit erbij en makkelijke instructies.

Terri Delaune 08 dec 2023
Ik vind het geweldig dat er tutorials beschikbaar zijn op Etsy.
Gekocht item:
Tutorial #9: Interactive 1-sheet Card 'Spring Hugs'Terri Delaune 08 dec 2023
Meer uit deze Etsy-shop


Disclaimer: Etsy neemt geen verantwoordelijkheid voor de correctheid, de labeling of de inhoud van de listings en producten van verkopers. Bij elektrische of elektronische producten bestaat er een kans op brand of elektrocutie. Vintage, handgemaakte, omgebouwde of aangepaste elektrische of elektronische producten kunnen wellicht niet voldoen aan de huidige veiligheidsnormen en kunnen bij gebruik onveilig zijn. Inspecteer voor gebruik de items zorgvuldig en stuur de verkoper een bericht als je vragen hebt over het product. Gebruik vintage elektrische of elektronische niet als de veiligheid niet gecontroleerd kan worden. Om de kans op brand tot een minimum te beperken, gebruik je aangesloten vintage elektrische of elektronische producten nooit zonder toezicht. Bekijk Etsy's voorwaarden voor meer informatie.