Tired of the usual baby shower games? Entertain your guests with this adorable (and actually useful!) craft project.
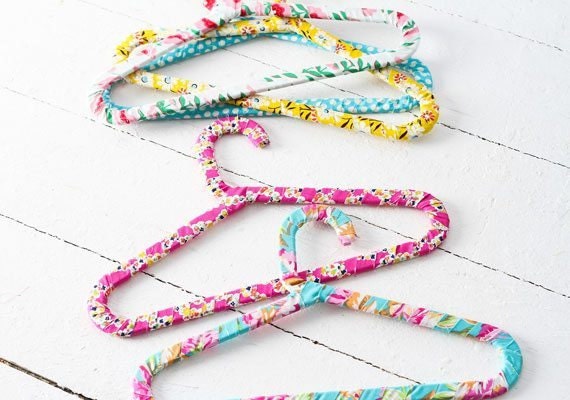
Ashley Poskin is a photographer, blogger, and Chicago-style hotdog enthusiast who lives in a big old house in a teeny tiny town. When she's not dreaming up new DIY projects, you can find her knee-deep in a home renovation project and searching for unique vintage goods to put in her Etsy shop, Dingaling Vintage. I’ve been to what feels like a million baby showers, and while it's fun celebrate the birth of a new babe with friends and family, there's one thing about them I've never understood: the games. So, when the time came for my friends to throw a baby shower in my honor, I vetoed games entirely and instead opted for a DIY activity my guests could do together. I wanted to choose a project that was simple enough for my 10-year-old niece to tackle, and resulted in something I actually needed for the nursery. I’m expecting a little lady, so in anticipation of a major haul of mini ruffled and polka-dotted frocks, I thought fabric-wrapped hangers would be the perfect project – and it turns out, it was! Today I'm showing you how to make your own.
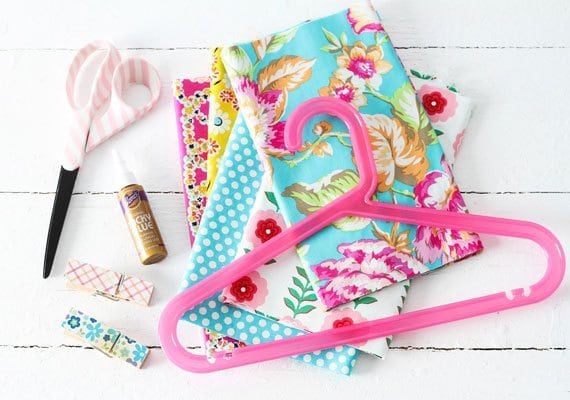
You will need:
- 1”-2” strips of cotton fabric
- Craft glue
- Scissors
- Clothespins
- Children’s hangers
Pre-shower prep:
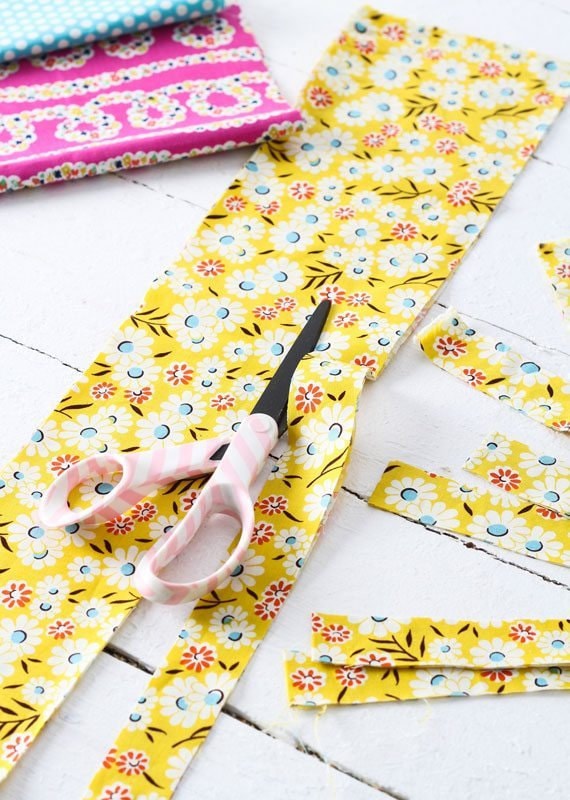
Before the shower, be sure to pick out an assortment of fabrics and cut them into 1”-2” strips. Depending on how much fabric you need to cut, this process can take a while; however, since you aren’t sewing with the strips, you don't need to worry about about being super precise. It's totally fine to eyeball the width – I did!
On the day of the shower, be sure to arrange all the supplies in one place for easy access. I hung my fabric strips and hangers on a clothing rack in the back of the room, and then put the other supplies out on a table nearby; feel free to get creative with your setup.
To make a hanger:
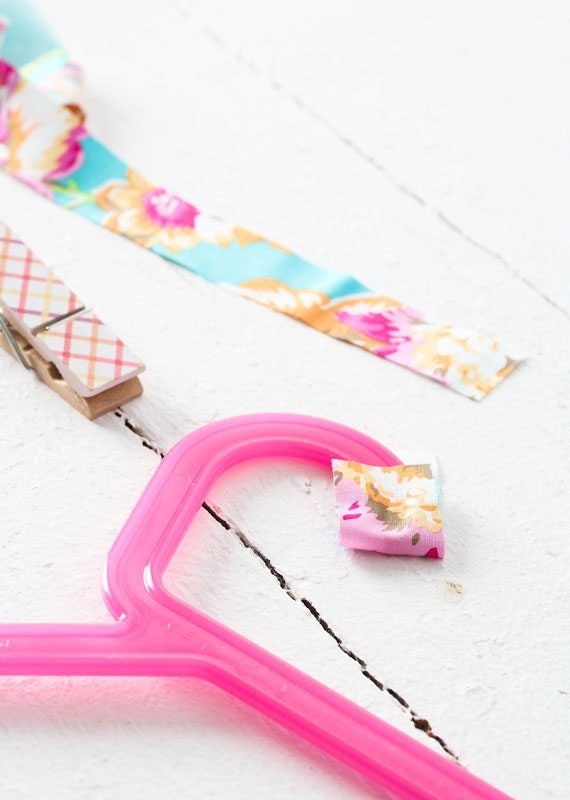
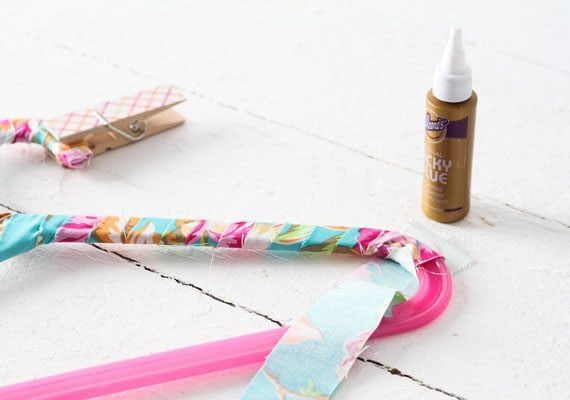
Step 1: Gather 3 strips of fabric. Trim a tiny piece off one end, apply fabric glue to the tip of the hanger and cover it with the piece of fabric.
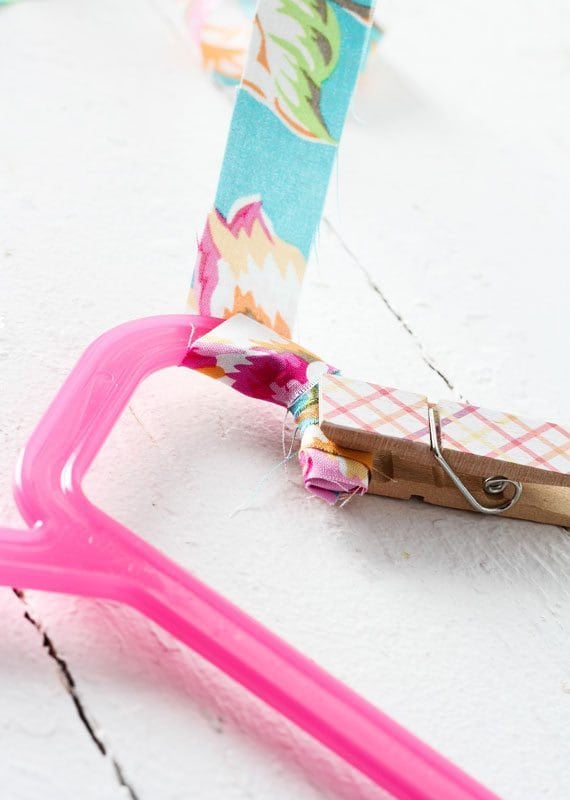
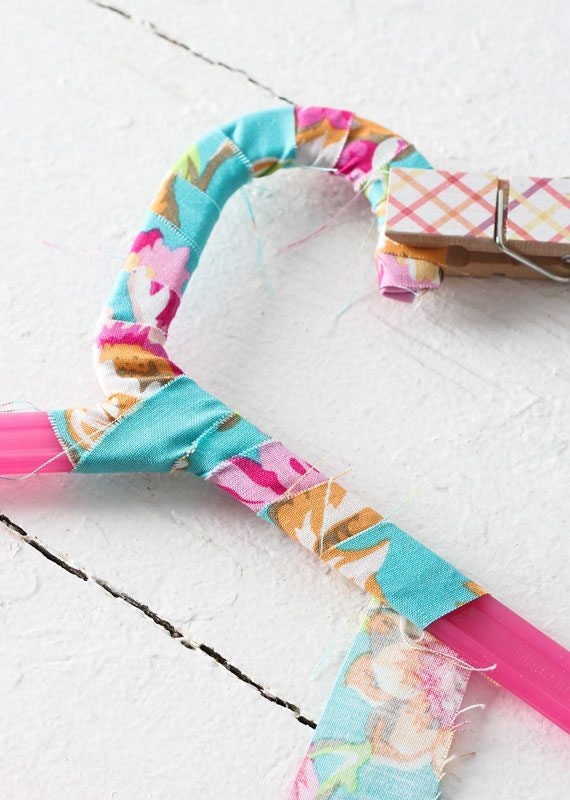
Step 2: Add another dot of glue to the top of the covered tip and begin wrapping the first strip of fabric around it. Hold in place with a clothespin. Be sure to pull the fabric taut as you wind around and down the hanger.
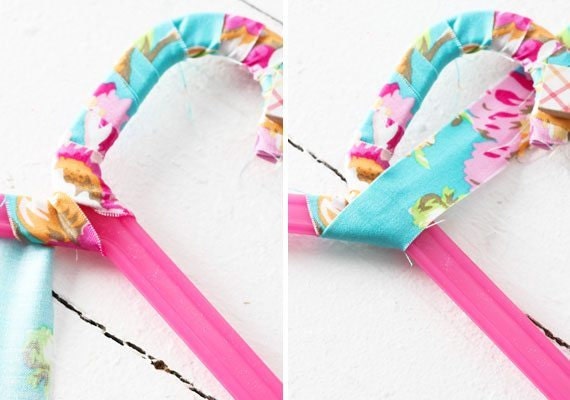
Step 3: Once you reach the base of the neck of the hanger, wrap the fabric down and around in a “v” to completely cover the plastic hanger.
Continue wrapping down and around the hanger, clockwise, working your way around, back to the base of the neck.
Step 4: When you get to the end of a strip, secure it to the hanger with a dab of craft glue — or just tightly wrap another strip of fabric around its tail and continue wrapping. If you decide to use glue, attach a clothespin on top to help it adhere.
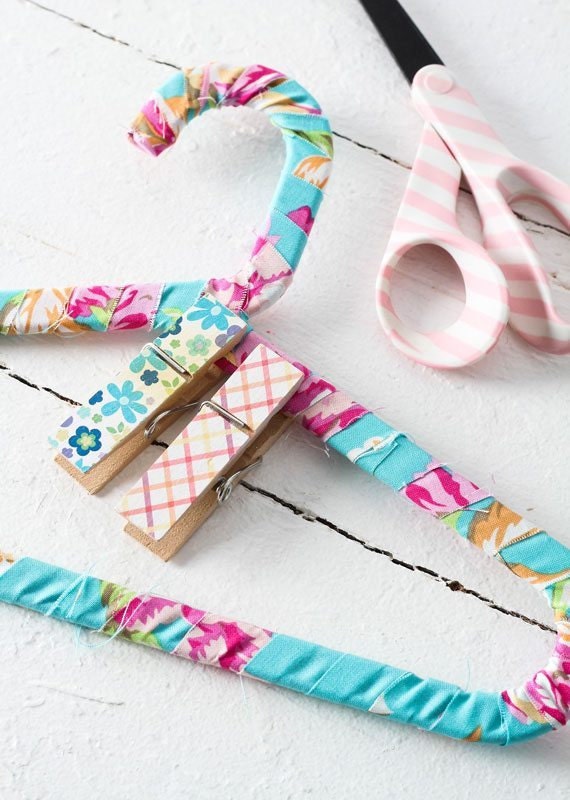
Step 5: You should be finished once you end at the base of the neck of the hanger. Apply a decent amount of glue to the backside of the hanger and cut off the excess fabric. Pop on a clothespin for a few minutes to give the fabric and glue a chance to bond, and voila!
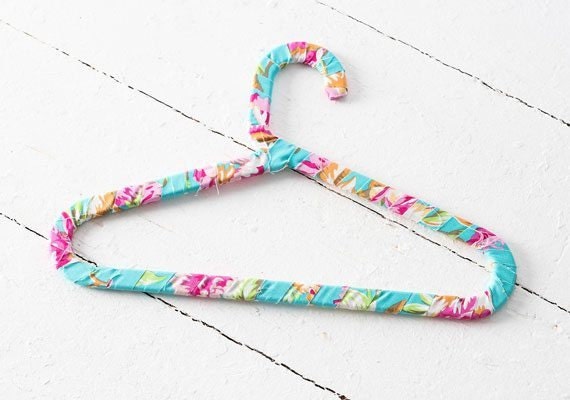
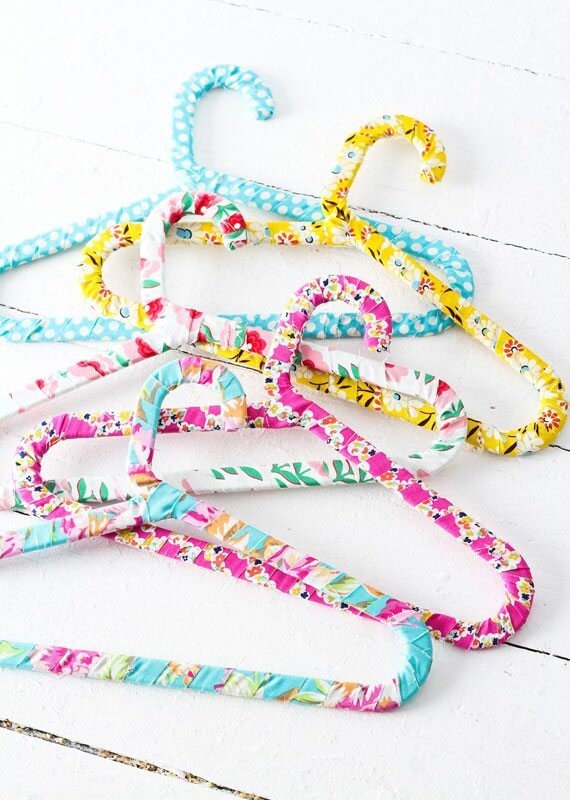
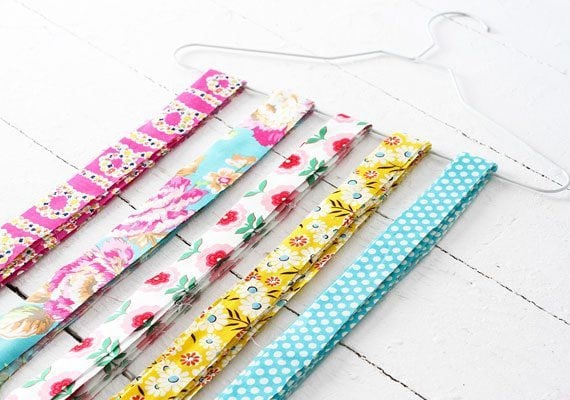
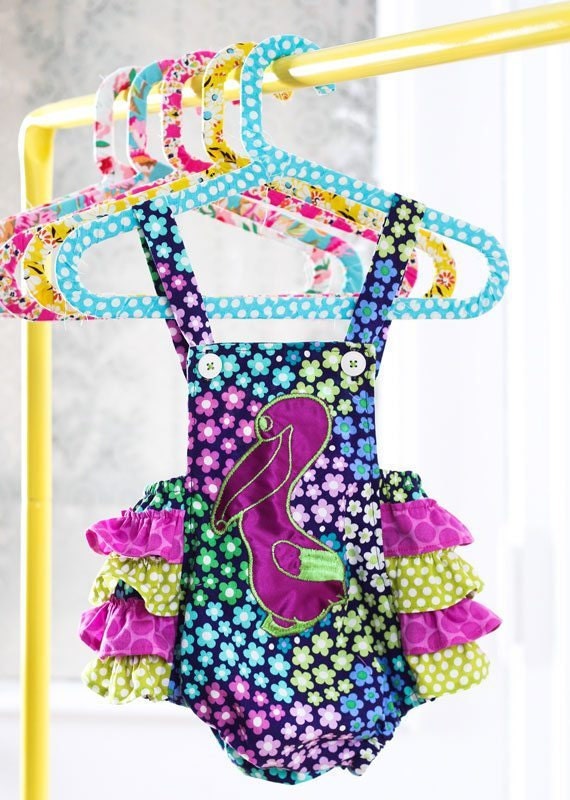
After the shower, you’ve got a full set of fabric covered hangers — now worthy of all those adorable little baby outfits.
All photographs by Ashley Poskin.